Do you have a wedding coming up, and are currently looking for ideas to make it personal, unique, and unforgettable? If so, maybe you’ll be interested in using retro prints as your wedding props, especially if you’re the kind of person who’s keen on documenting your journey and everyday moments.
You might wonder, why retro prints? Here are just a few reasons why using retro prints for your wedding props is a good idea:
- They’re affordable and easy to make
- You can use any photos that mean a lot to you, which could well be from years ago
- It’s an easy way to personalise your wedding
- They’re versatile, and can be used for any kind of prop
- You can use them to share your story and journey as a couple with your loved ones
So what can you make from retro prints? We’ve got a list of ideas for you.
Table of Contents
1. Save-the-date card
A save-the-date card is usually quite simple, and retro prints are the ideal choice. Choose your favourite couple photo with your partner, and create retro prints with your wedding date to inform your friends and loved ones. Easy peasy.
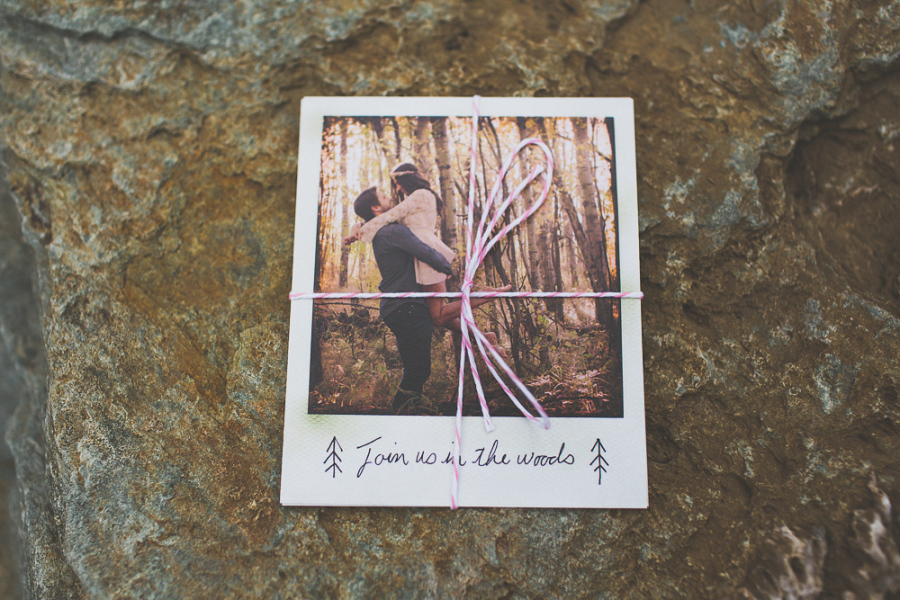 Image: Kamp Photography via Style Me Pretty
2. Cake topper
In almost every wedding, the cake toppers would be figurines of the bride and groom, or the personalised Mr. & Mrs (followed by surname). Make yours stand out by using a retro print(s) of you and your partner. It can be a photo of you both, or individual photos of you ‘facing each other’. Use a place card holder to put it on top of your cake.
Tip: Have close-up shots for this one, as anything smaller would be hard to see.
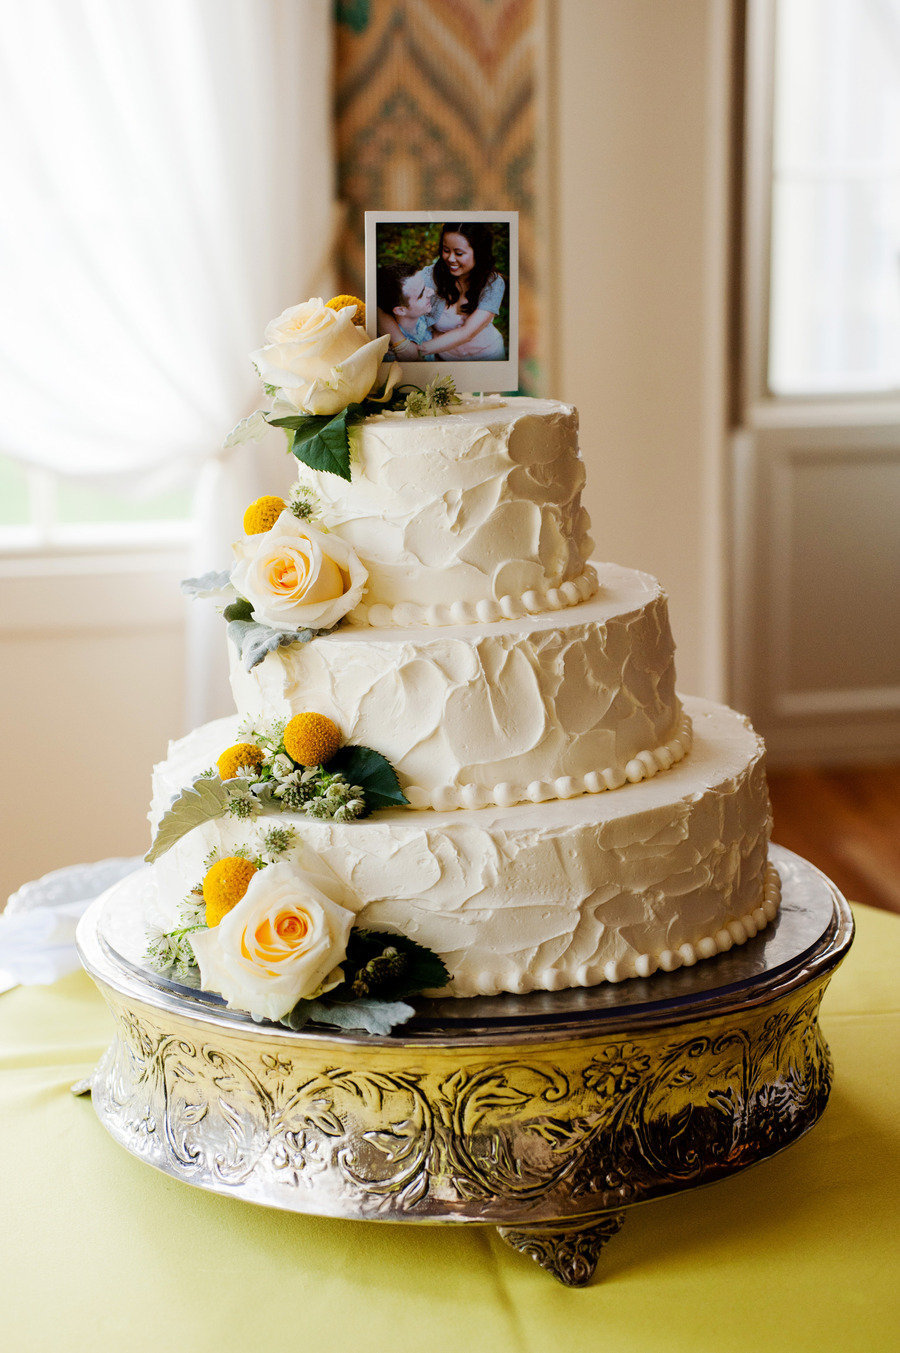 Image: Shang Chen Photo via Style Me Pretty
3. Centrepieces
People usually go with the traditional route for centrepieces with flowers, candles, and ornaments. Make it fun and add a twist to your centrepieces by including a retro print or few.
The photos to use for the centrepieces depend on what you name the tables. You can use numbers, or you can be creative and add personal details or story to name the tables. A few ideas:
- Your favourite countries or cities for holiday
- Memorable places that mean something to you (for example, the place where you went on a first date, where he proposed, etc.)
- Song names or lyrics
- Your favourite dishes or restaurants
- Book or movie characters
- Colours
And many more! Once you’ve got the names for the tables, start digging into your collection of photos to create these unique retro centrepieces.
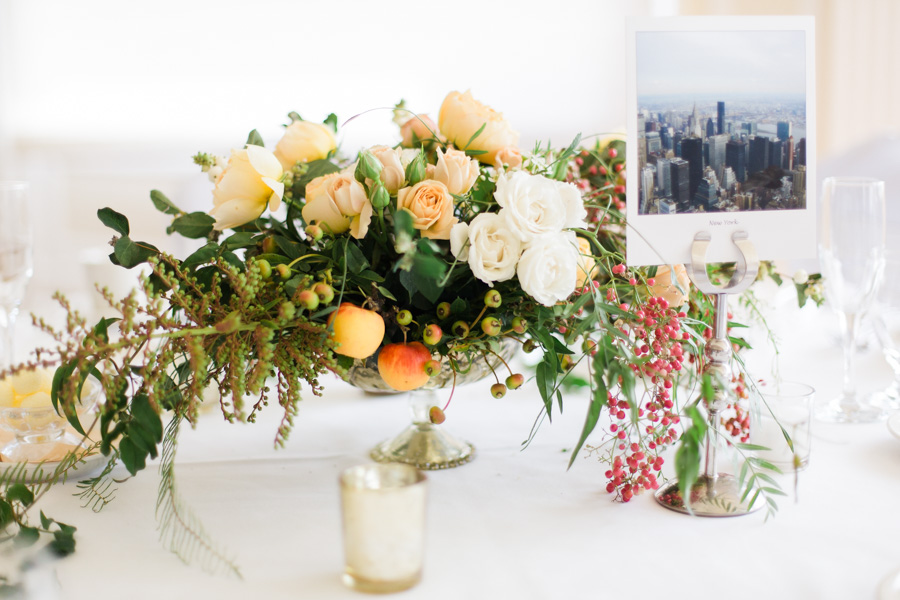 Image: Elizabeth Anne Designs
4. Buntings
Retro buntings are decorative pieces for your wedding that can also serve as a display of your journey. From childhood snaps and holiday photos, to the monumental events in your relationship, you can bring these old memories to your wedding with a string of your favourite photos. Use pegs to clip the retro prints to a string, and voila!
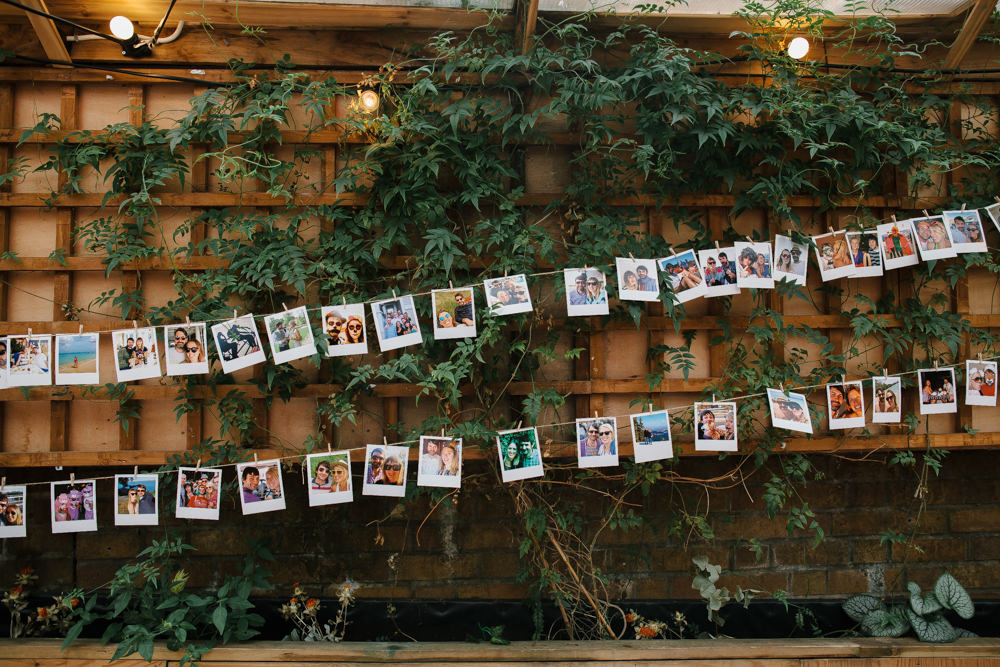 Image: Chris Barber Photography via Rock My Wedding
5. Table plan
Table plan, or seating chart, is another fun way to use retro prints. Have a big board with retro prints of your guests’ faces, and let them look for their faces to find their seats. The tagline ‘find your face to find your place’ is rather catchy, isn’t it?
Tip: If you don’t know where to start gathering these guests’ photos, Facebook is a great source.
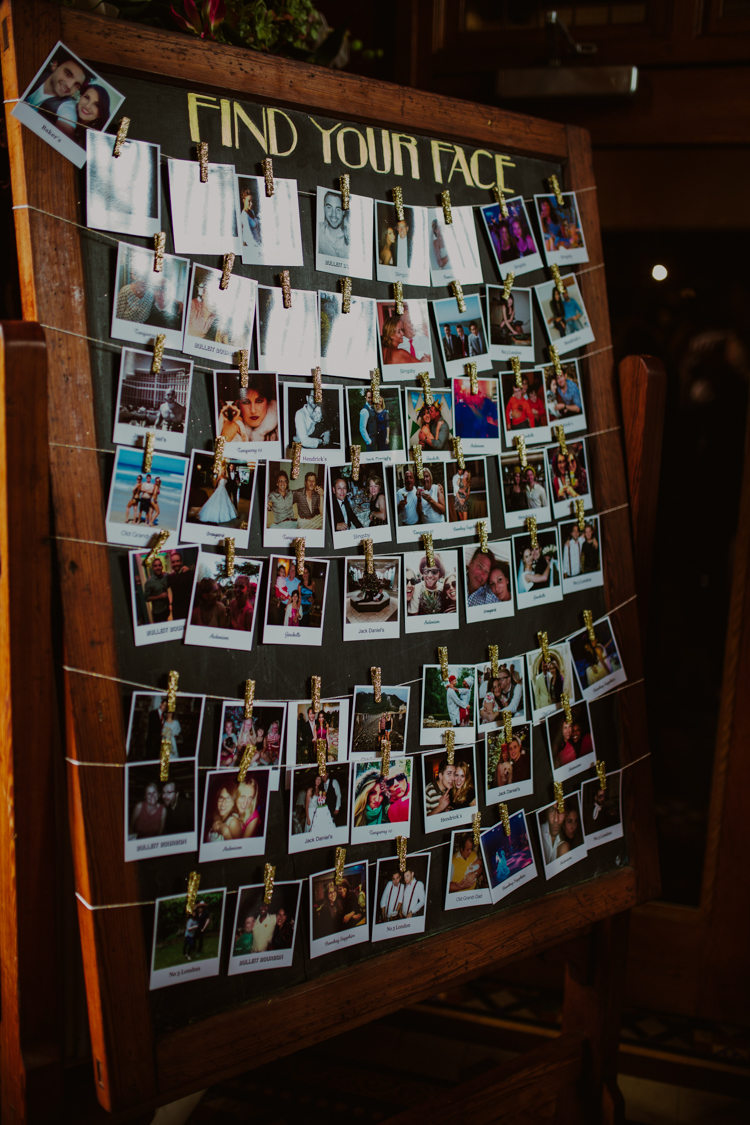 Image: Bears Collective via Whimsical Wonderland Weddings
6. Place cards
Following the table plan, you can also use retro prints for the place cards. Usually, place cards would only include the names of the guest, but this is where you dare to be different. Create retro prints of your guests and write their names on the print, before placing it at their seat on the table. At the end of the day, this will be something nice your guests could keep for themselves.
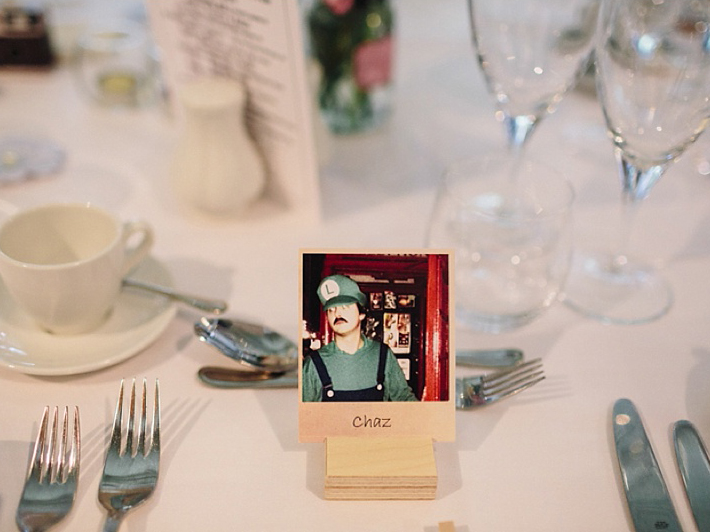 Image: Lisa Dawn Photography via Rock My Wedding
7. Thank you cards
When the wedding is over, you can still use retro prints for thank you cards. Simply pick the best photo from the wedding for your thank you cards, get a print, and write your thank-you messages on the back before sending them off.
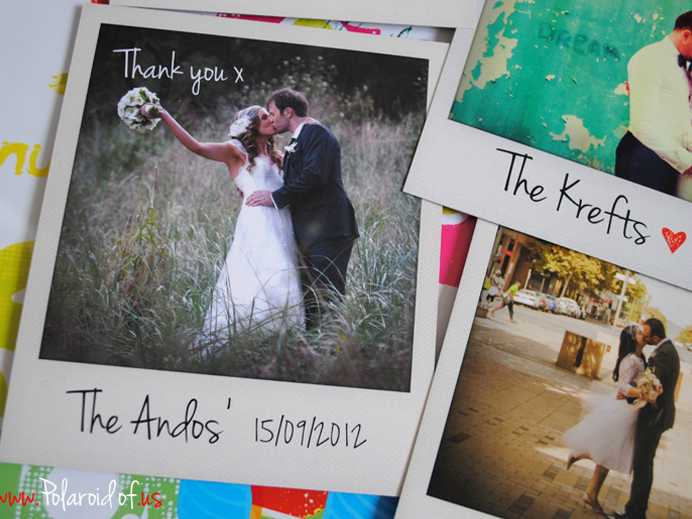 Image: Marty McColgan
Create your own retro retro prints online for your wedding! Click here to create your own, and get a FREE display stand with the product.



2 Comments
Great ideas!
Thank you Sheryl!